Get started
Connect Beacon
Beacon is a window onto a daemon running somewhere else. Setup is eight steps, it skips the ones your daemon has already answered, and it ends by proving the round trip actually works rather than telling you it should.
prometheus daemon
— not the machine running Beacon. If those are different computers, and they usually are,
localhost is the wrong answer. This is the step that catches people, including
the people who built it.
Before you start
Have two things to hand:
| What | Where it comes from |
|---|---|
| The daemon's address and port | The host running prometheus daemon, port 8005. A Tailscale host, a LAN IP, or localhost only if the daemon really is on this machine. |
| A pairing code or an API token | A daemon started without a config prints a six-digit pairing code in its terminal. An already-configured daemon has a token — oara token show on that host prints it. See Tokens and the open web API. |
1 · Welcome
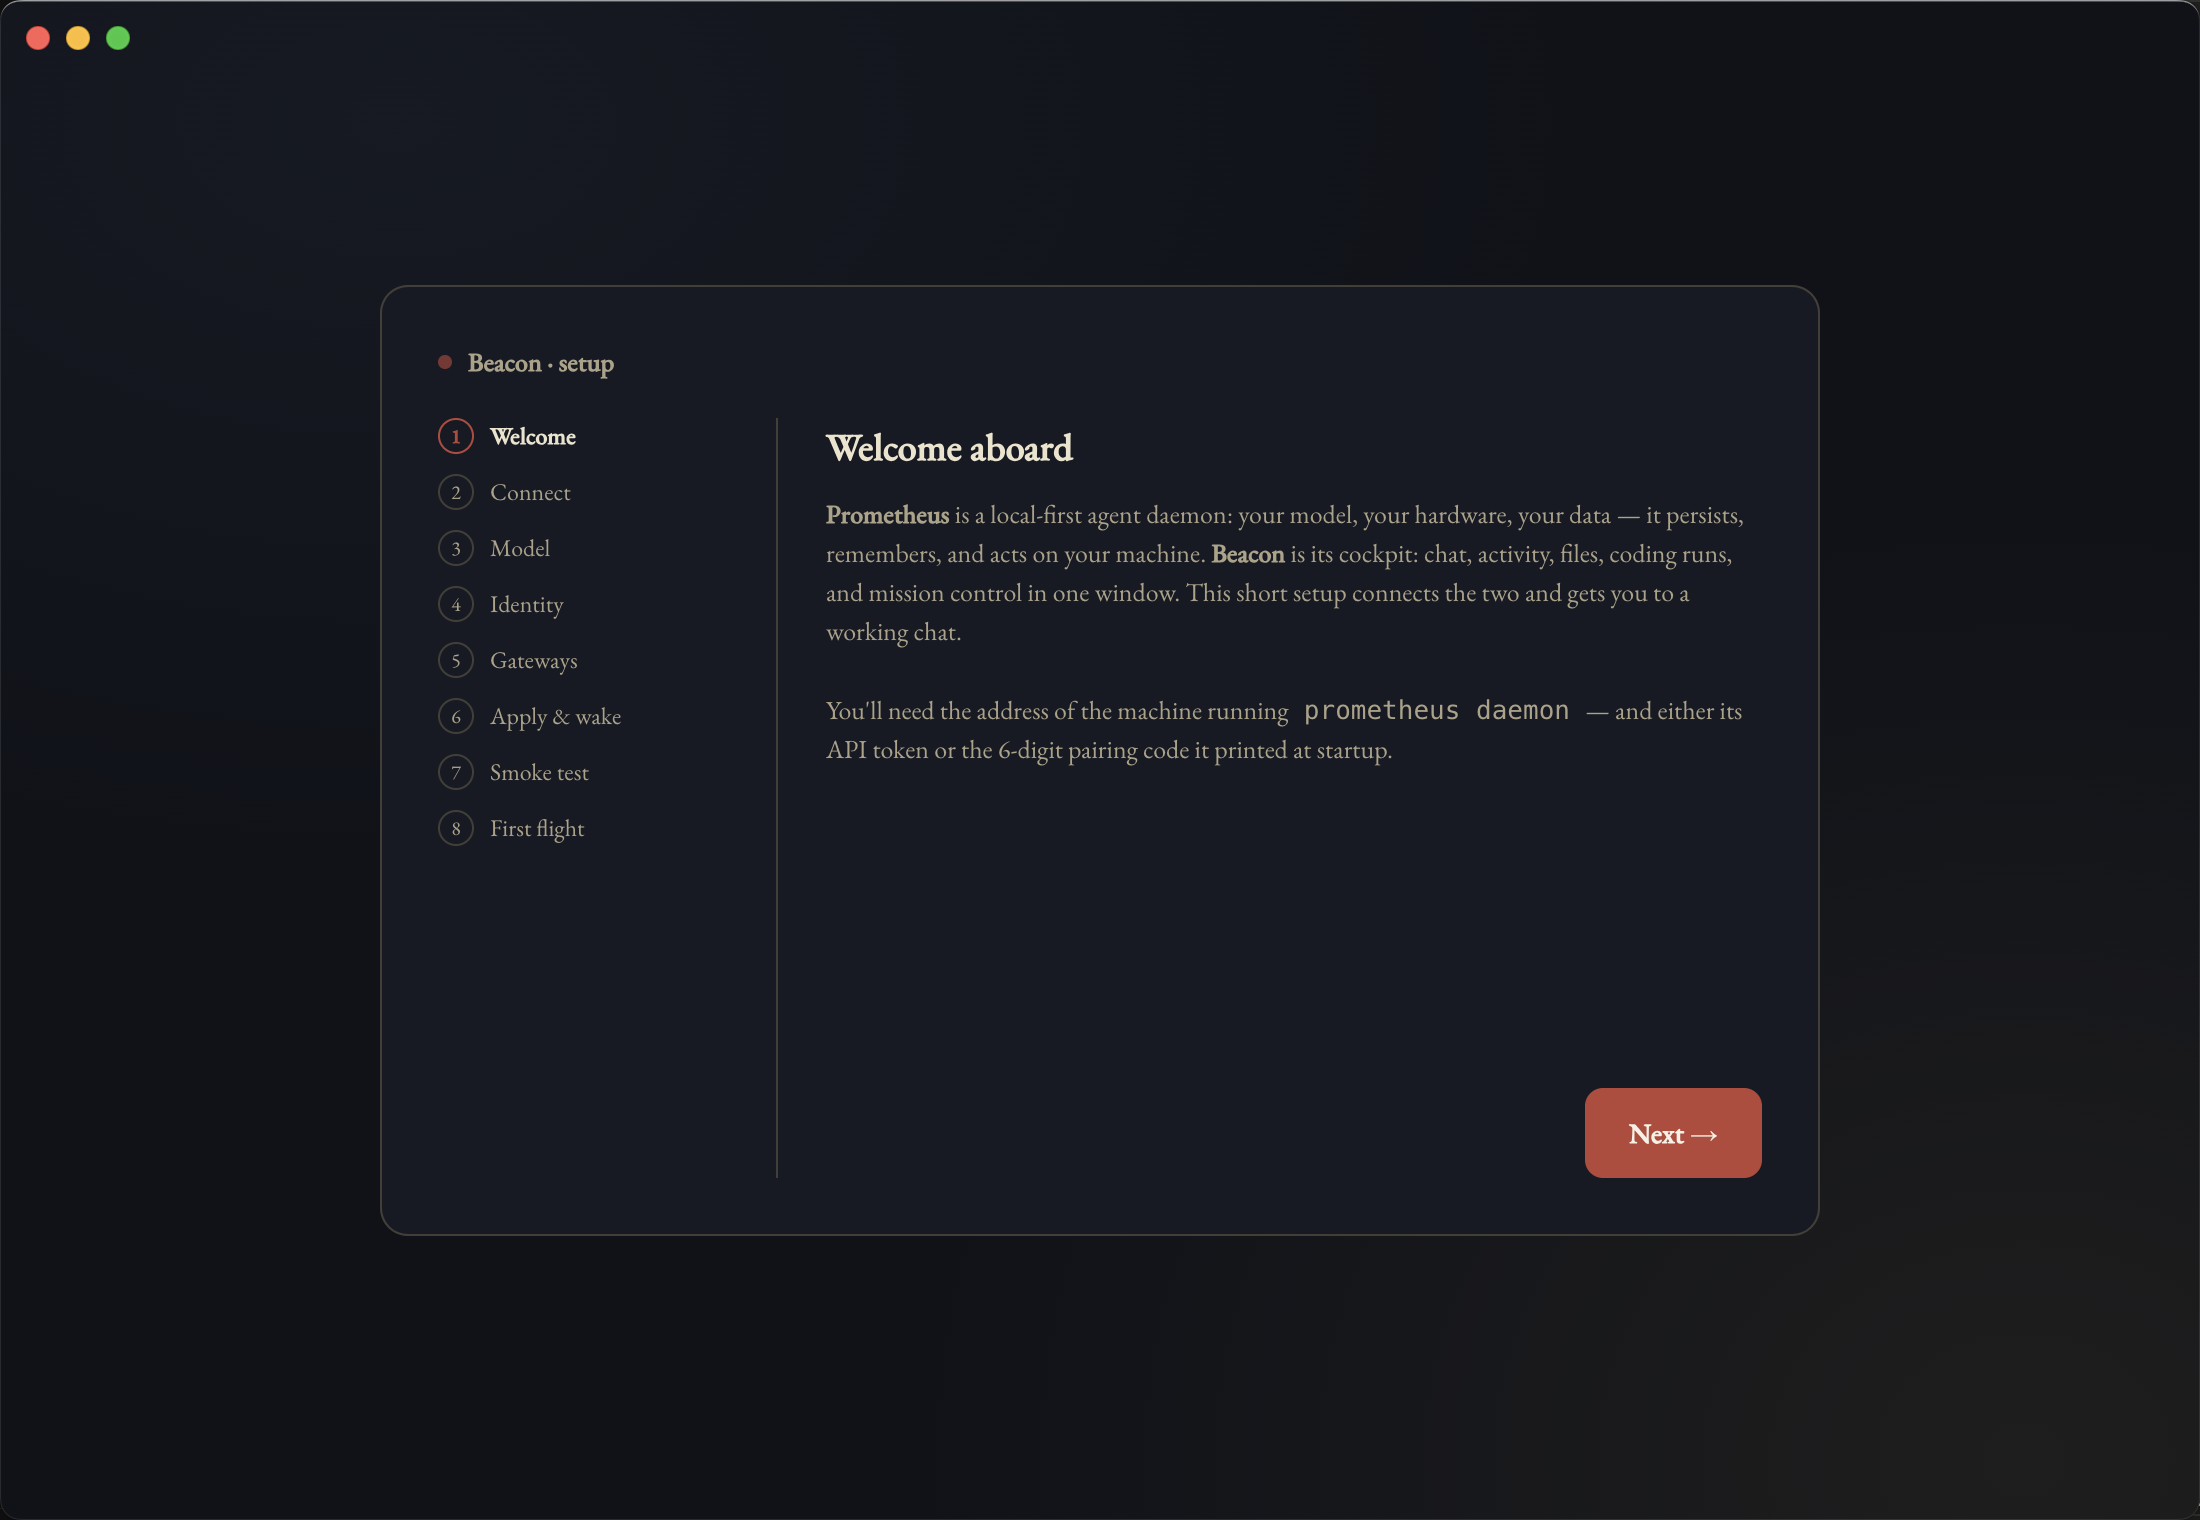
The wizard opens on a plain statement of what it is about to do and what it needs. No account, no sign-in — the only relationship is between this app and your daemon.
2 · Connect
Two ways in, and the tabs decide which fields you get.
Pairing code is the path for a daemon you have just started for the first time. It printed a six-digit code at startup; Beacon exchanges that code for the real token, so the token itself never gets typed or pasted.
API token is the path for a daemon that is already set up. Paste the token; Beacon stores it in your OS keychain, not in a config file.
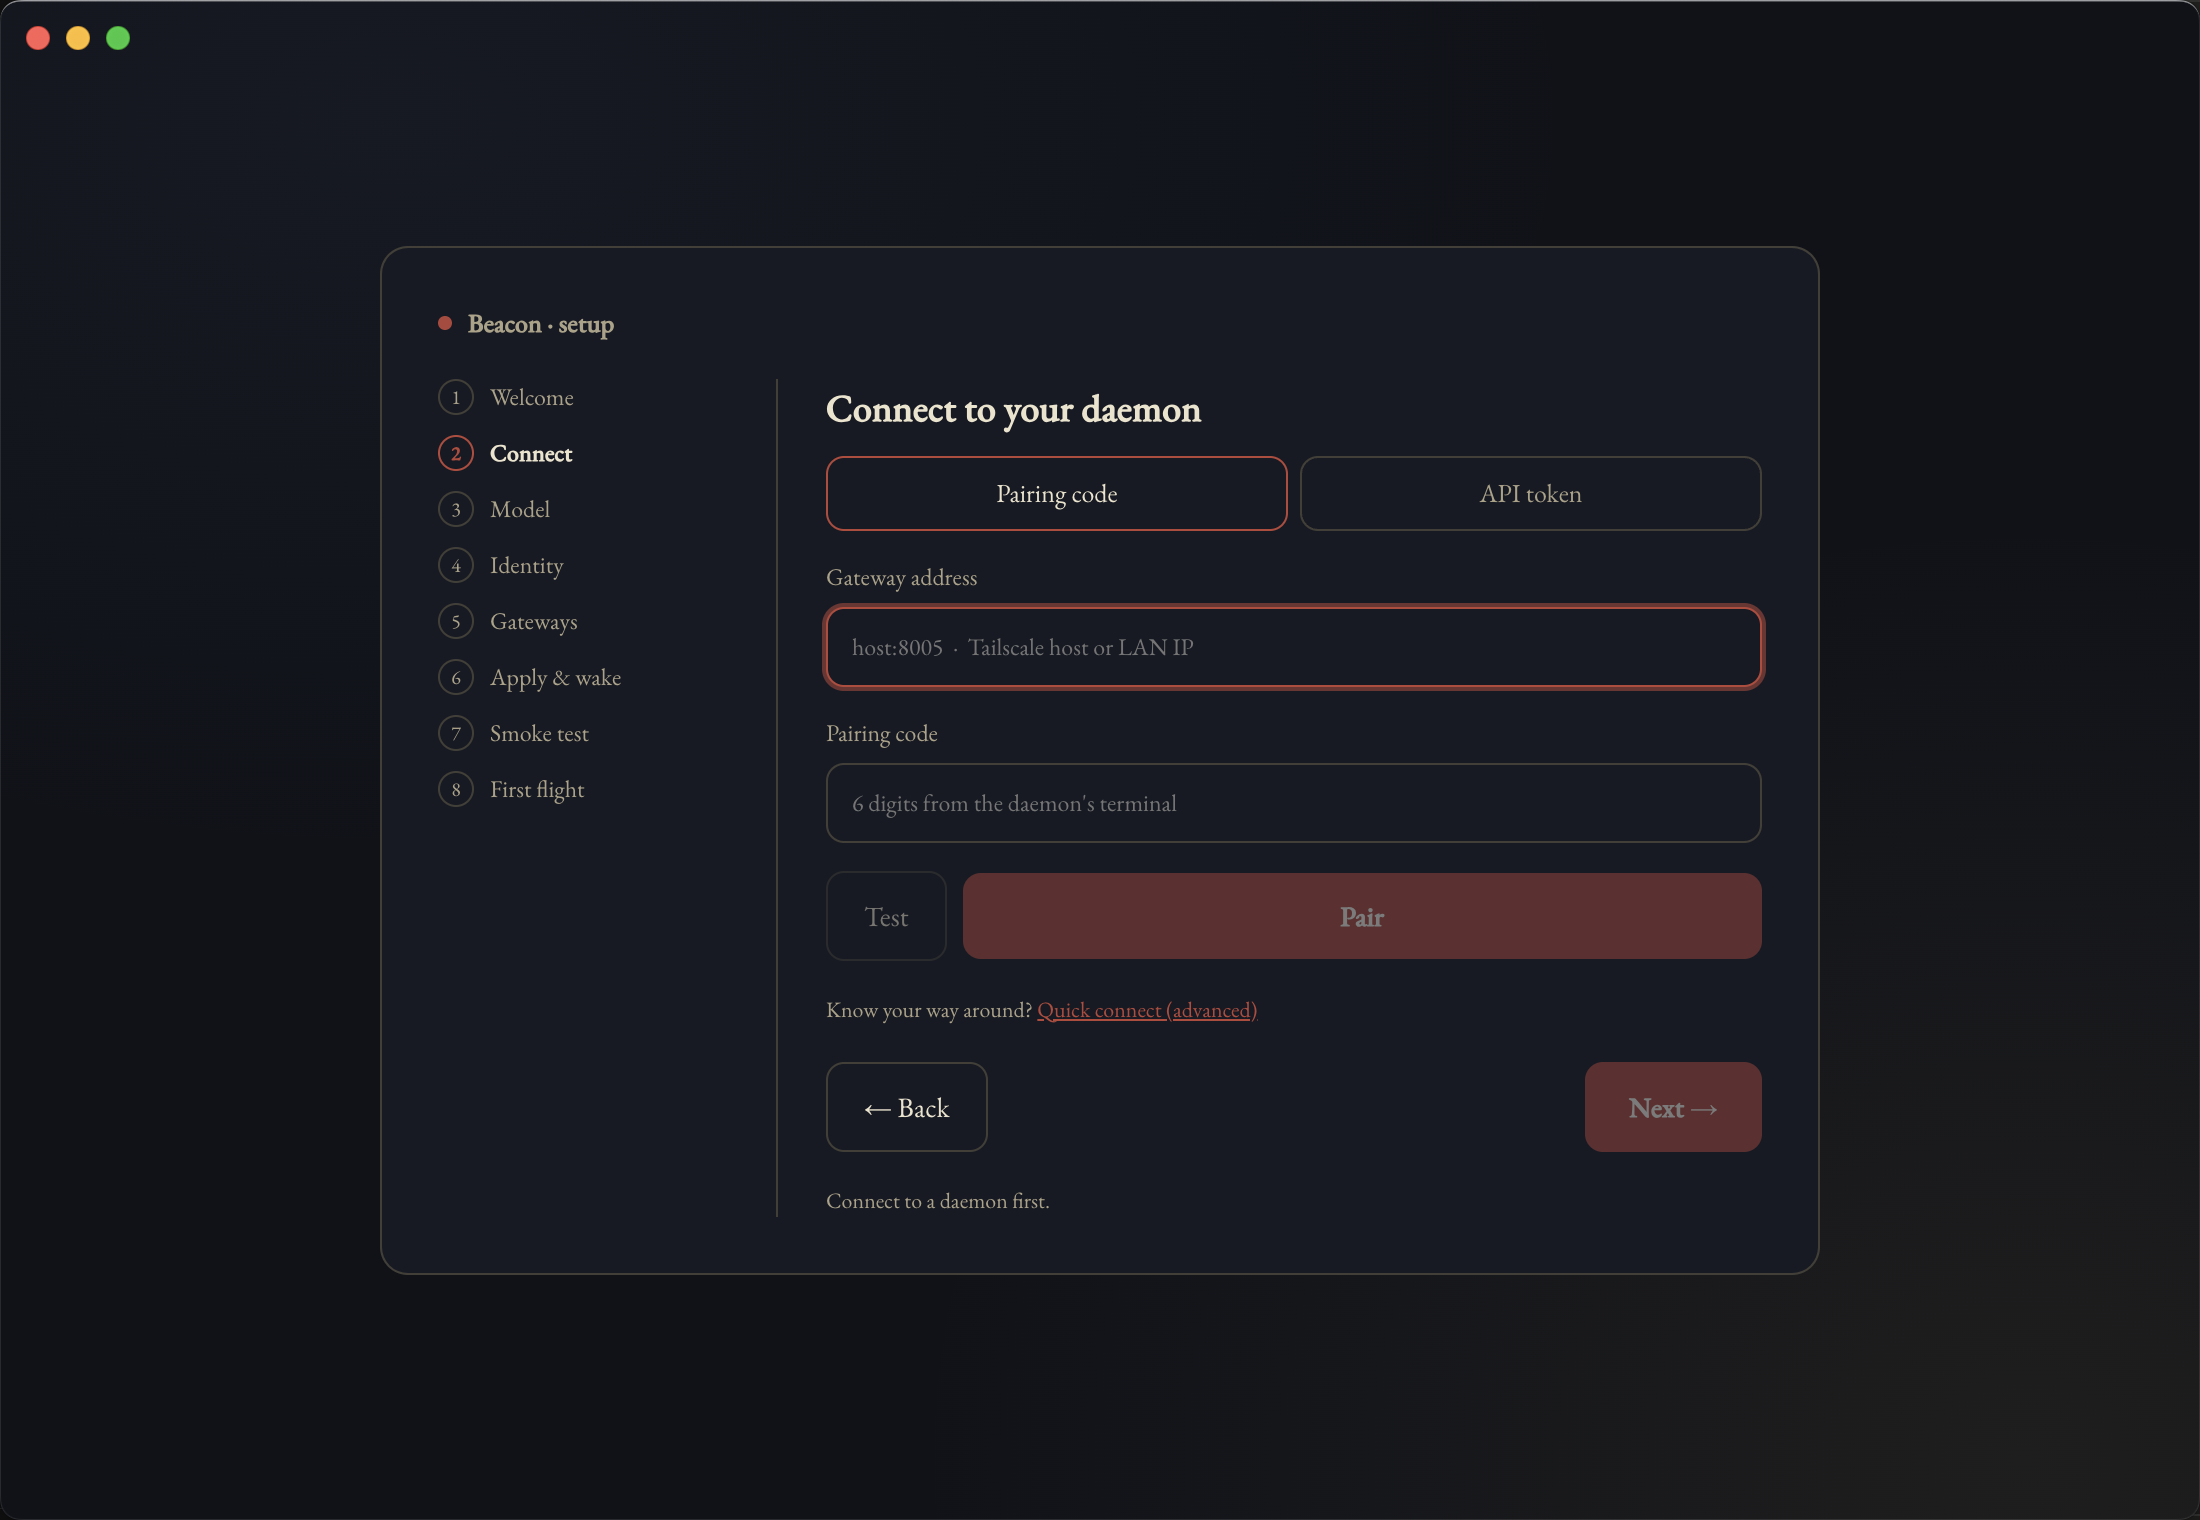
The address field takes host:8005. A bare host with no port will not do;
the port is where the REST API listens, and there is a second port at 8010
for the WebSocket that Beacon opens once connected.
When it does not connect
This is what a wrong address looks like. Worth showing, because it is the most common way a first setup stalls:
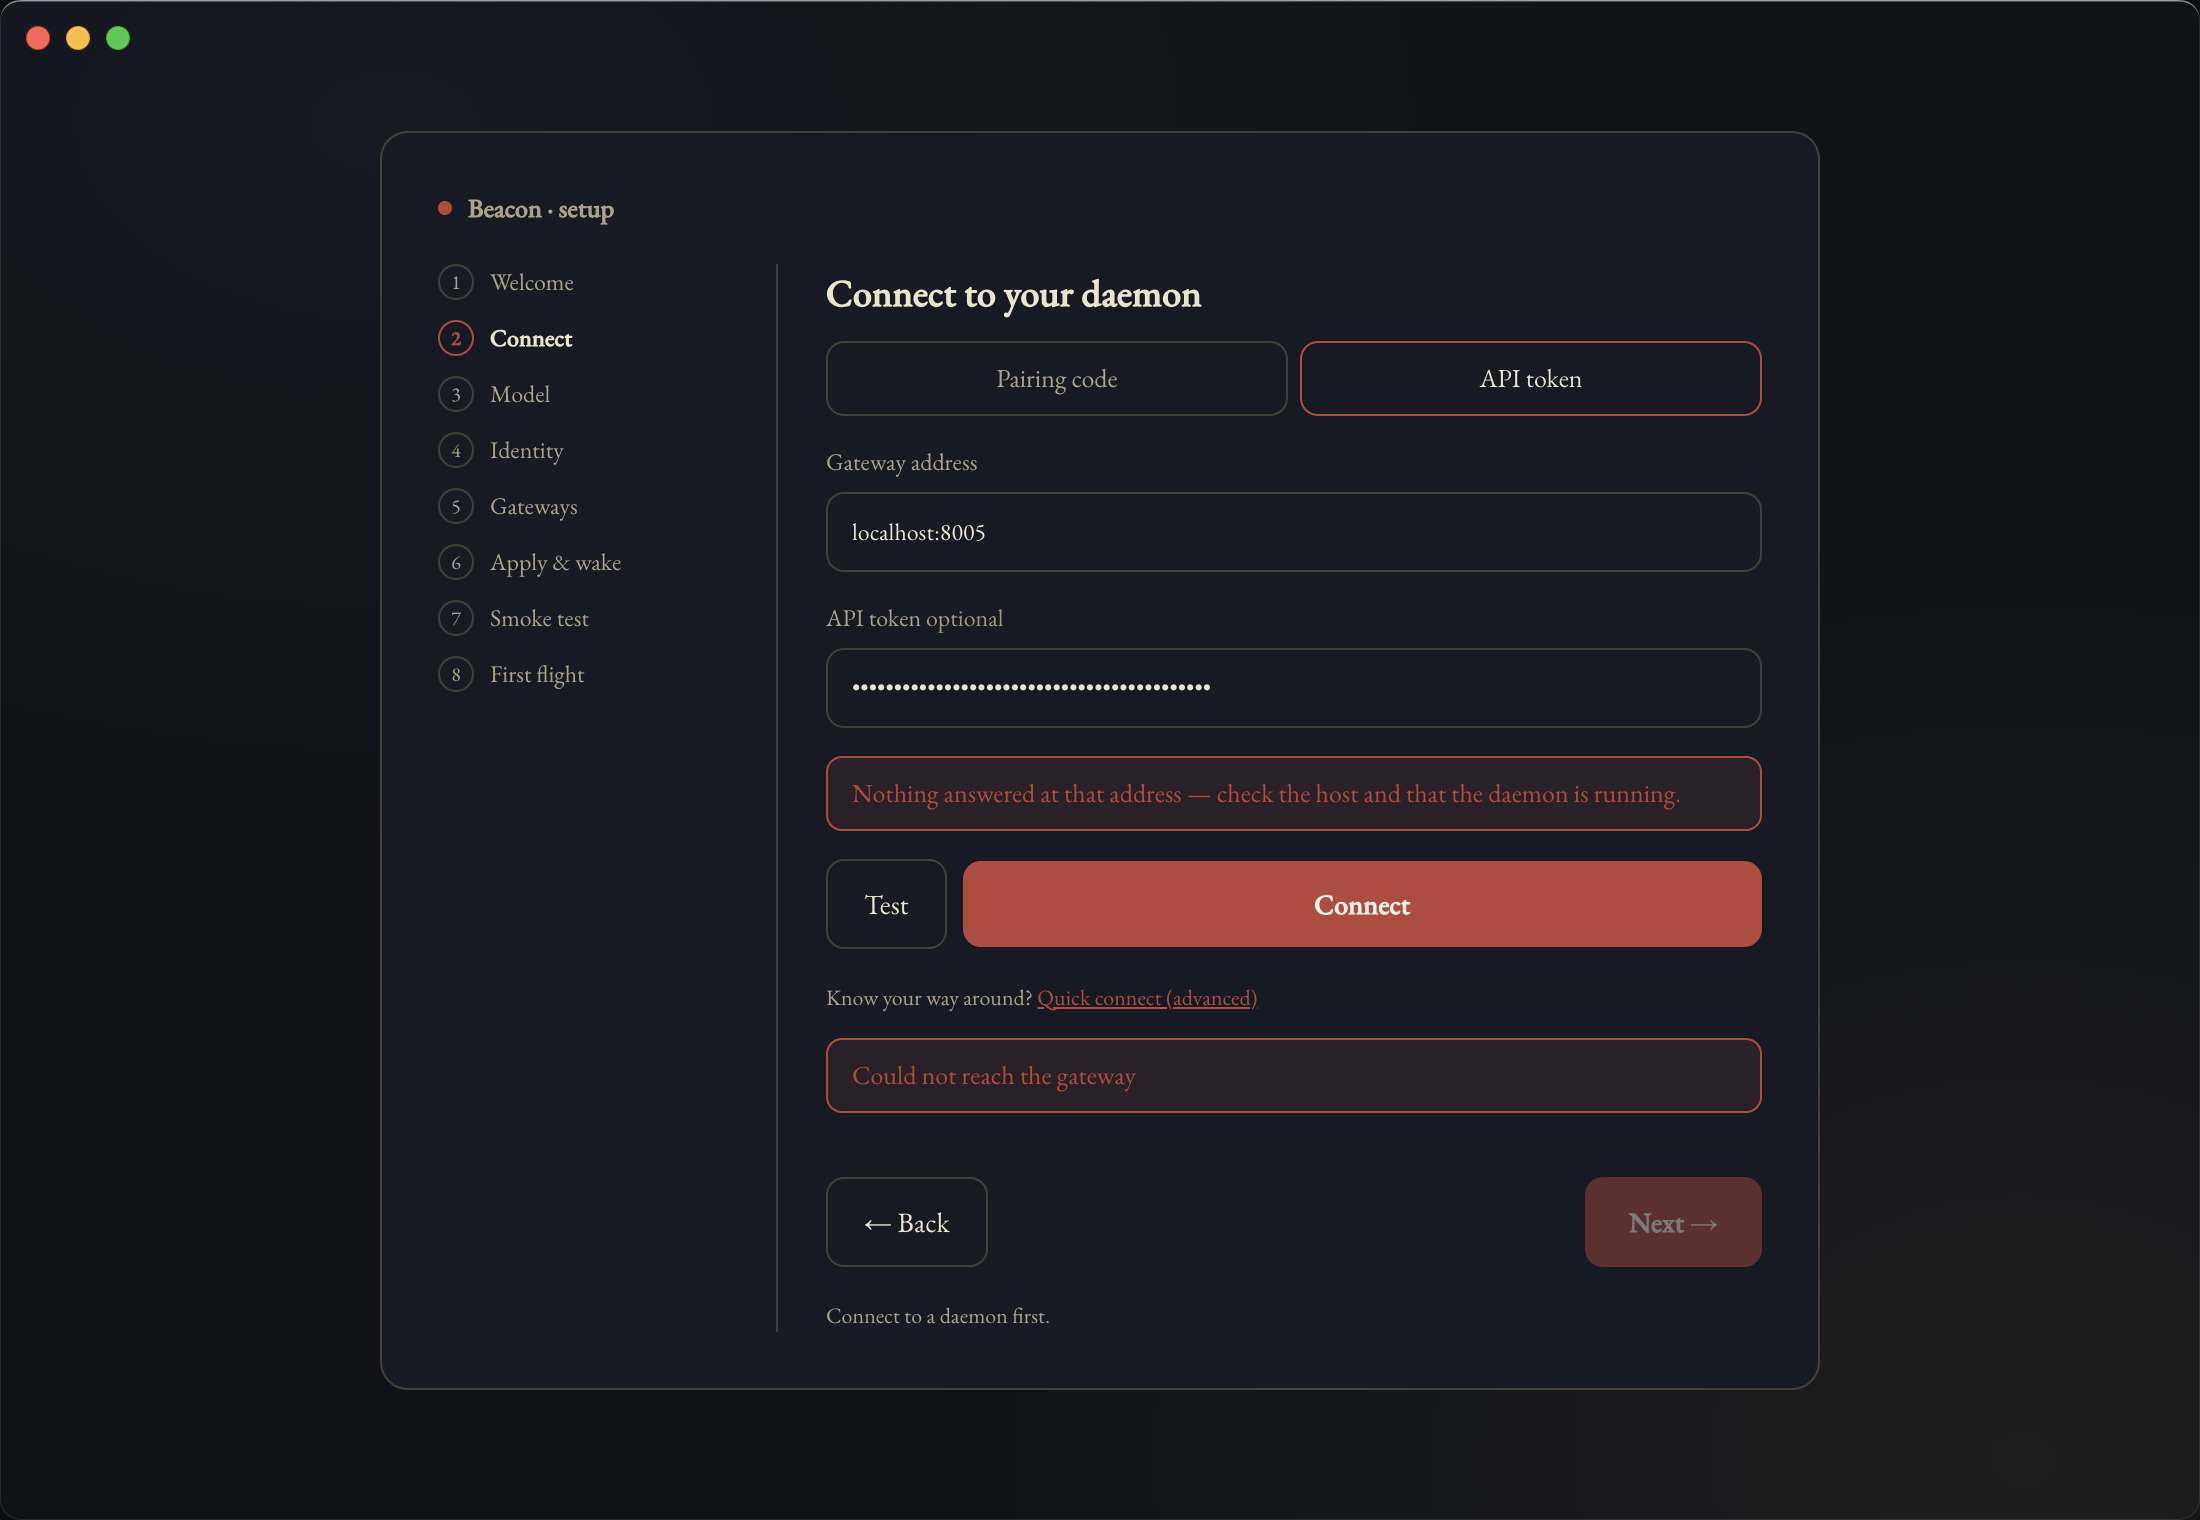
localhost:8005 on a machine that is not running the daemon.Nothing answered at that address — check the host and that the daemon is running. That message is literal. Something is wrong with one of three things, in this order of likelihood:
- Wrong host. You pointed at the machine you are sitting at rather than the one running the daemon.
- The daemon is not running. On that host:
systemctl --user status prometheus, or checkcurl -s localhost:8005/healthfrom that machine. - The host is unreachable from here. Different networks, tailnet down, firewall.
Confirm the daemon end before touching the address. On the daemon's own machine
curl localhost:8005/health should answer; if it prints nothing, nothing is
listening and the address was never the problem. Note that curl -s swallows
the connection error — an unreachable port and an empty reply look identical under
-s, which is its own small trap.
3 · Model
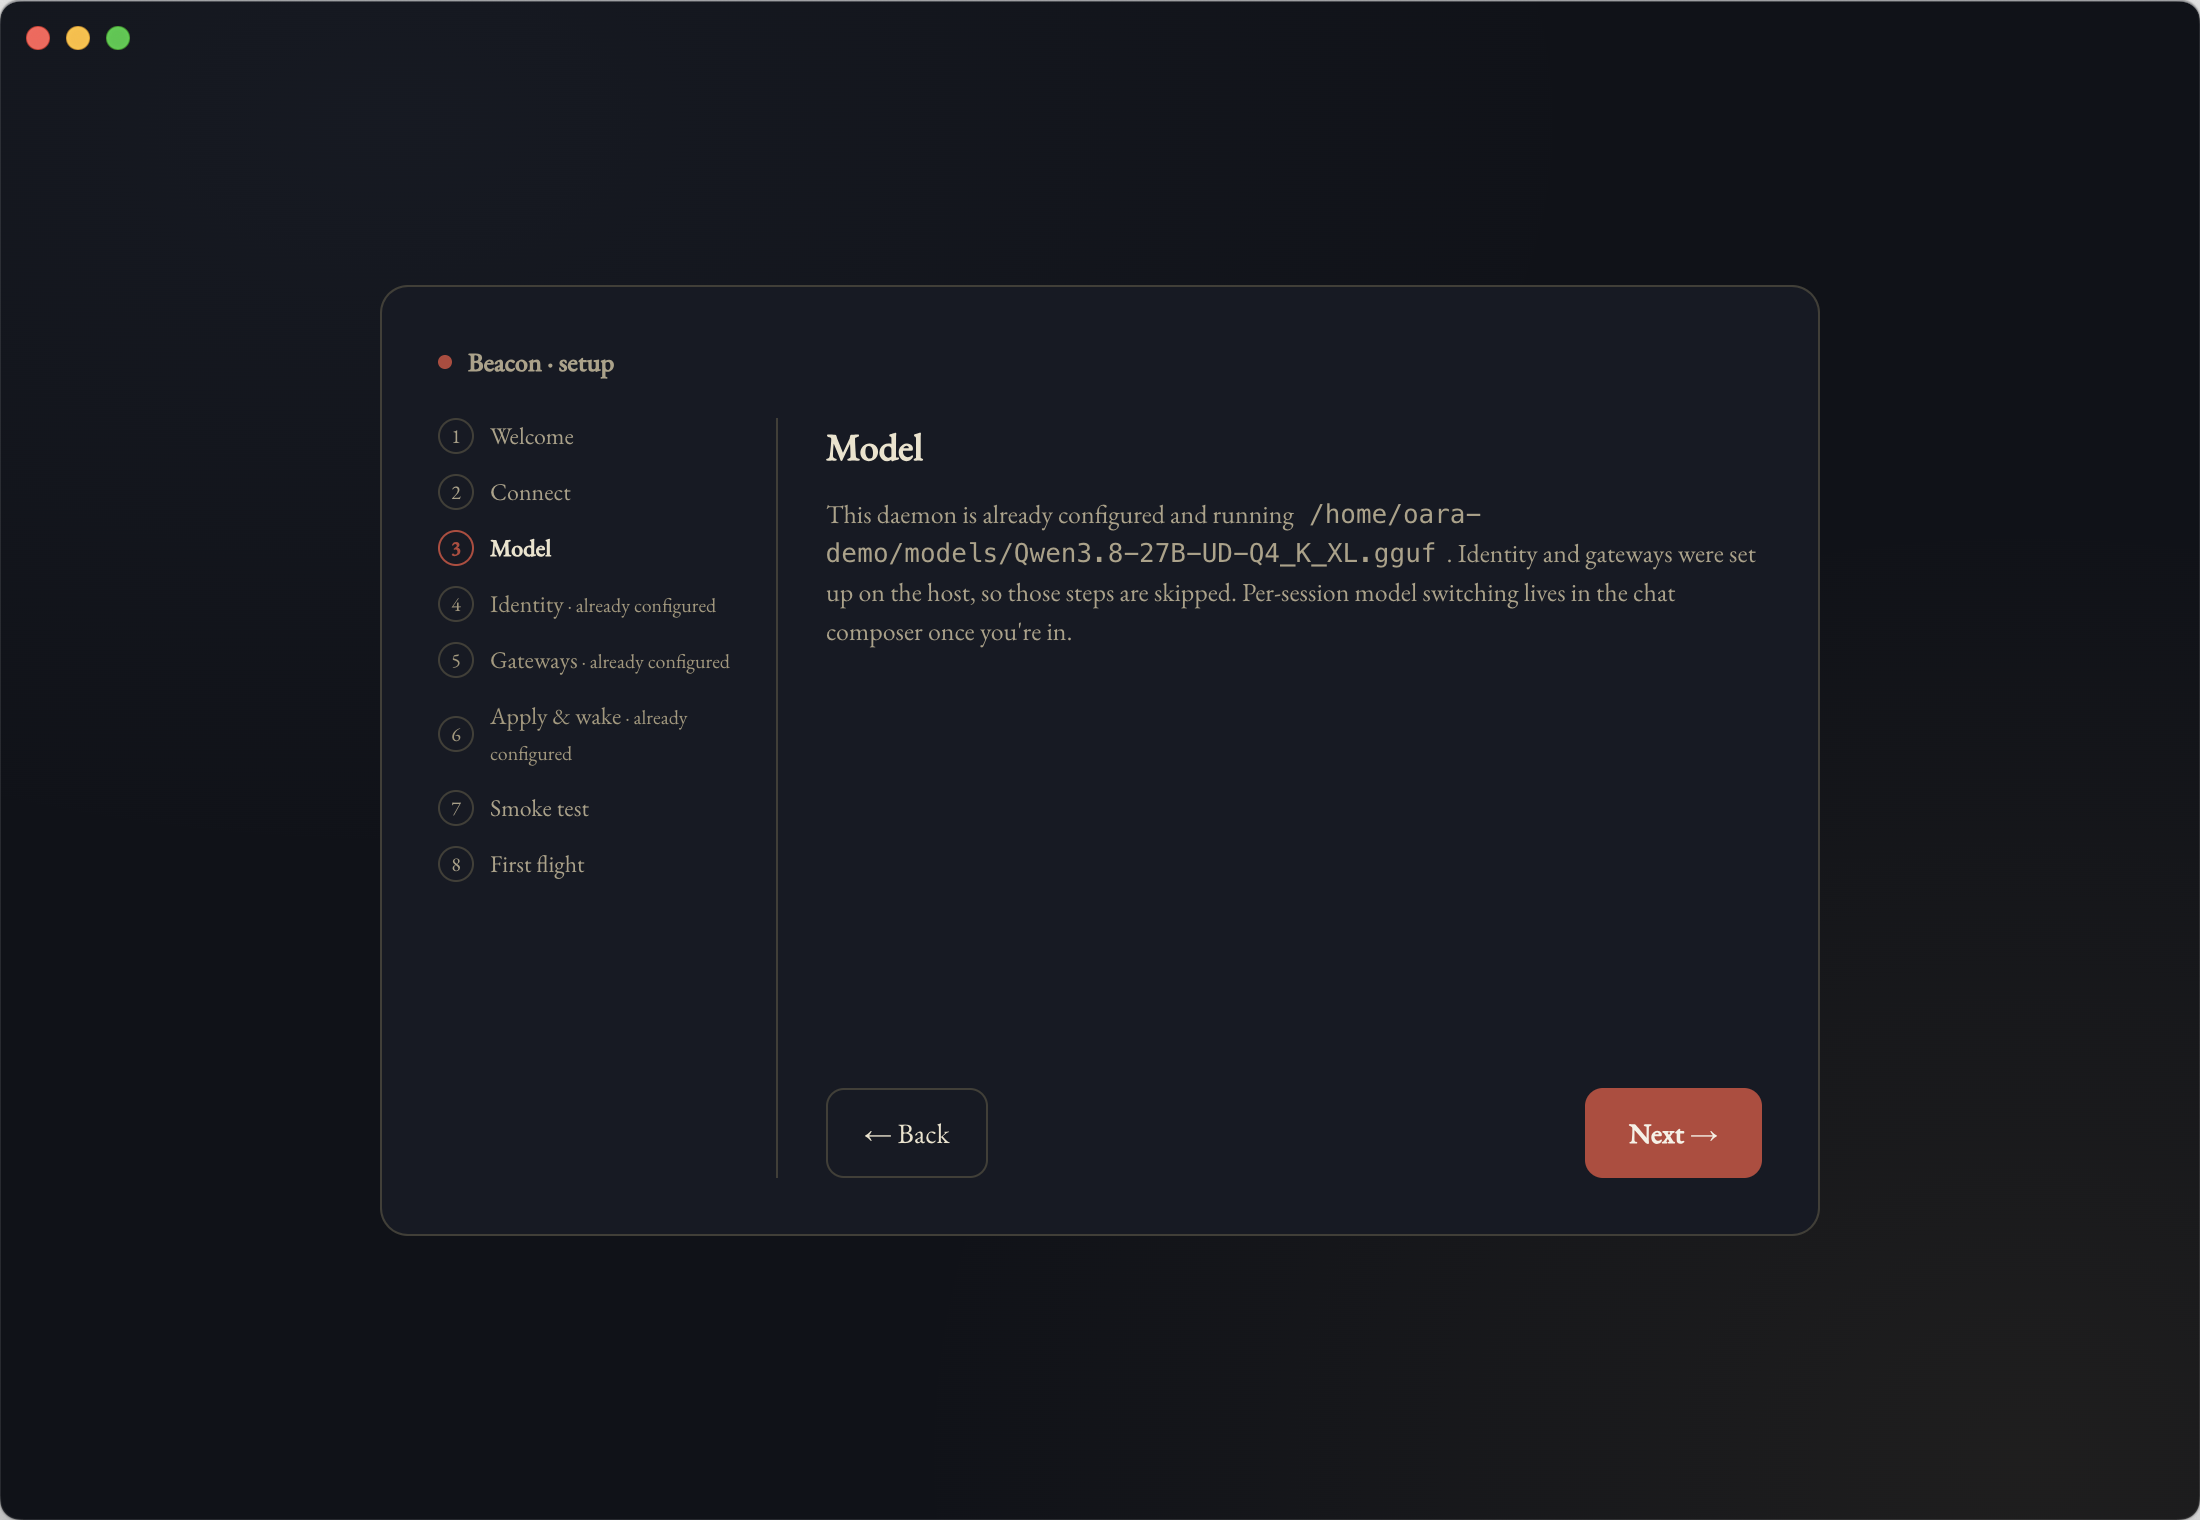
If the daemon is already configured, this step reports rather than asks: it names the model that daemon is currently running and moves on. Choosing a model per conversation happens later, in the chat composer — this is just the daemon's standing default.
4, 5 and 6 · Identity, Gateways, Apply & wake
oara setup. The walkthrough above was captured against a configured daemon,
so they were skipped and there are no screenshots of them yet. What follows is accurate
— it is read from the wizard's own step definitions — but it is described rather than
shown.
The rule is exact: when the daemon reports itself as already configured, these three are marked · already configured in the rail and navigation hops straight over them. Everything else runs the same.
4 · Identity
Names the agent and gives it a persona. The name is required — the step will not advance
without one — and defaults to Prometheus. The persona is free text and optional.
Together these write the identity files (SOUL.md and AGENTS.md)
that get loaded into every system prompt. You can rewrite them later with
oara identity --regenerate.
5 · Gateways
Optional messaging front-ends, so the agent is reachable without Beacon open. Three are offered — Telegram, Slack and Discord — and all three are entirely optional; skip the step and nothing is enabled.
One rule worth knowing before you hit it: Slack needs both tokens or neither.
A bot token (xoxb-…) without an app token (xapp-…) is refused, and
so is the reverse. Telegram and Discord each take a single token, plus an optional list of
chat or guild IDs to restrict who can talk to it.
6 · Apply & wake
Writes everything you have entered to the daemon and brings it up with the new config. This is the step that changes the remote machine; everything before it was local to the wizard.
7 · Smoke test
One real round trip. Beacon sends a hello and waits for your agent to answer — not a ping, not a health check, an actual message through the actual loop.
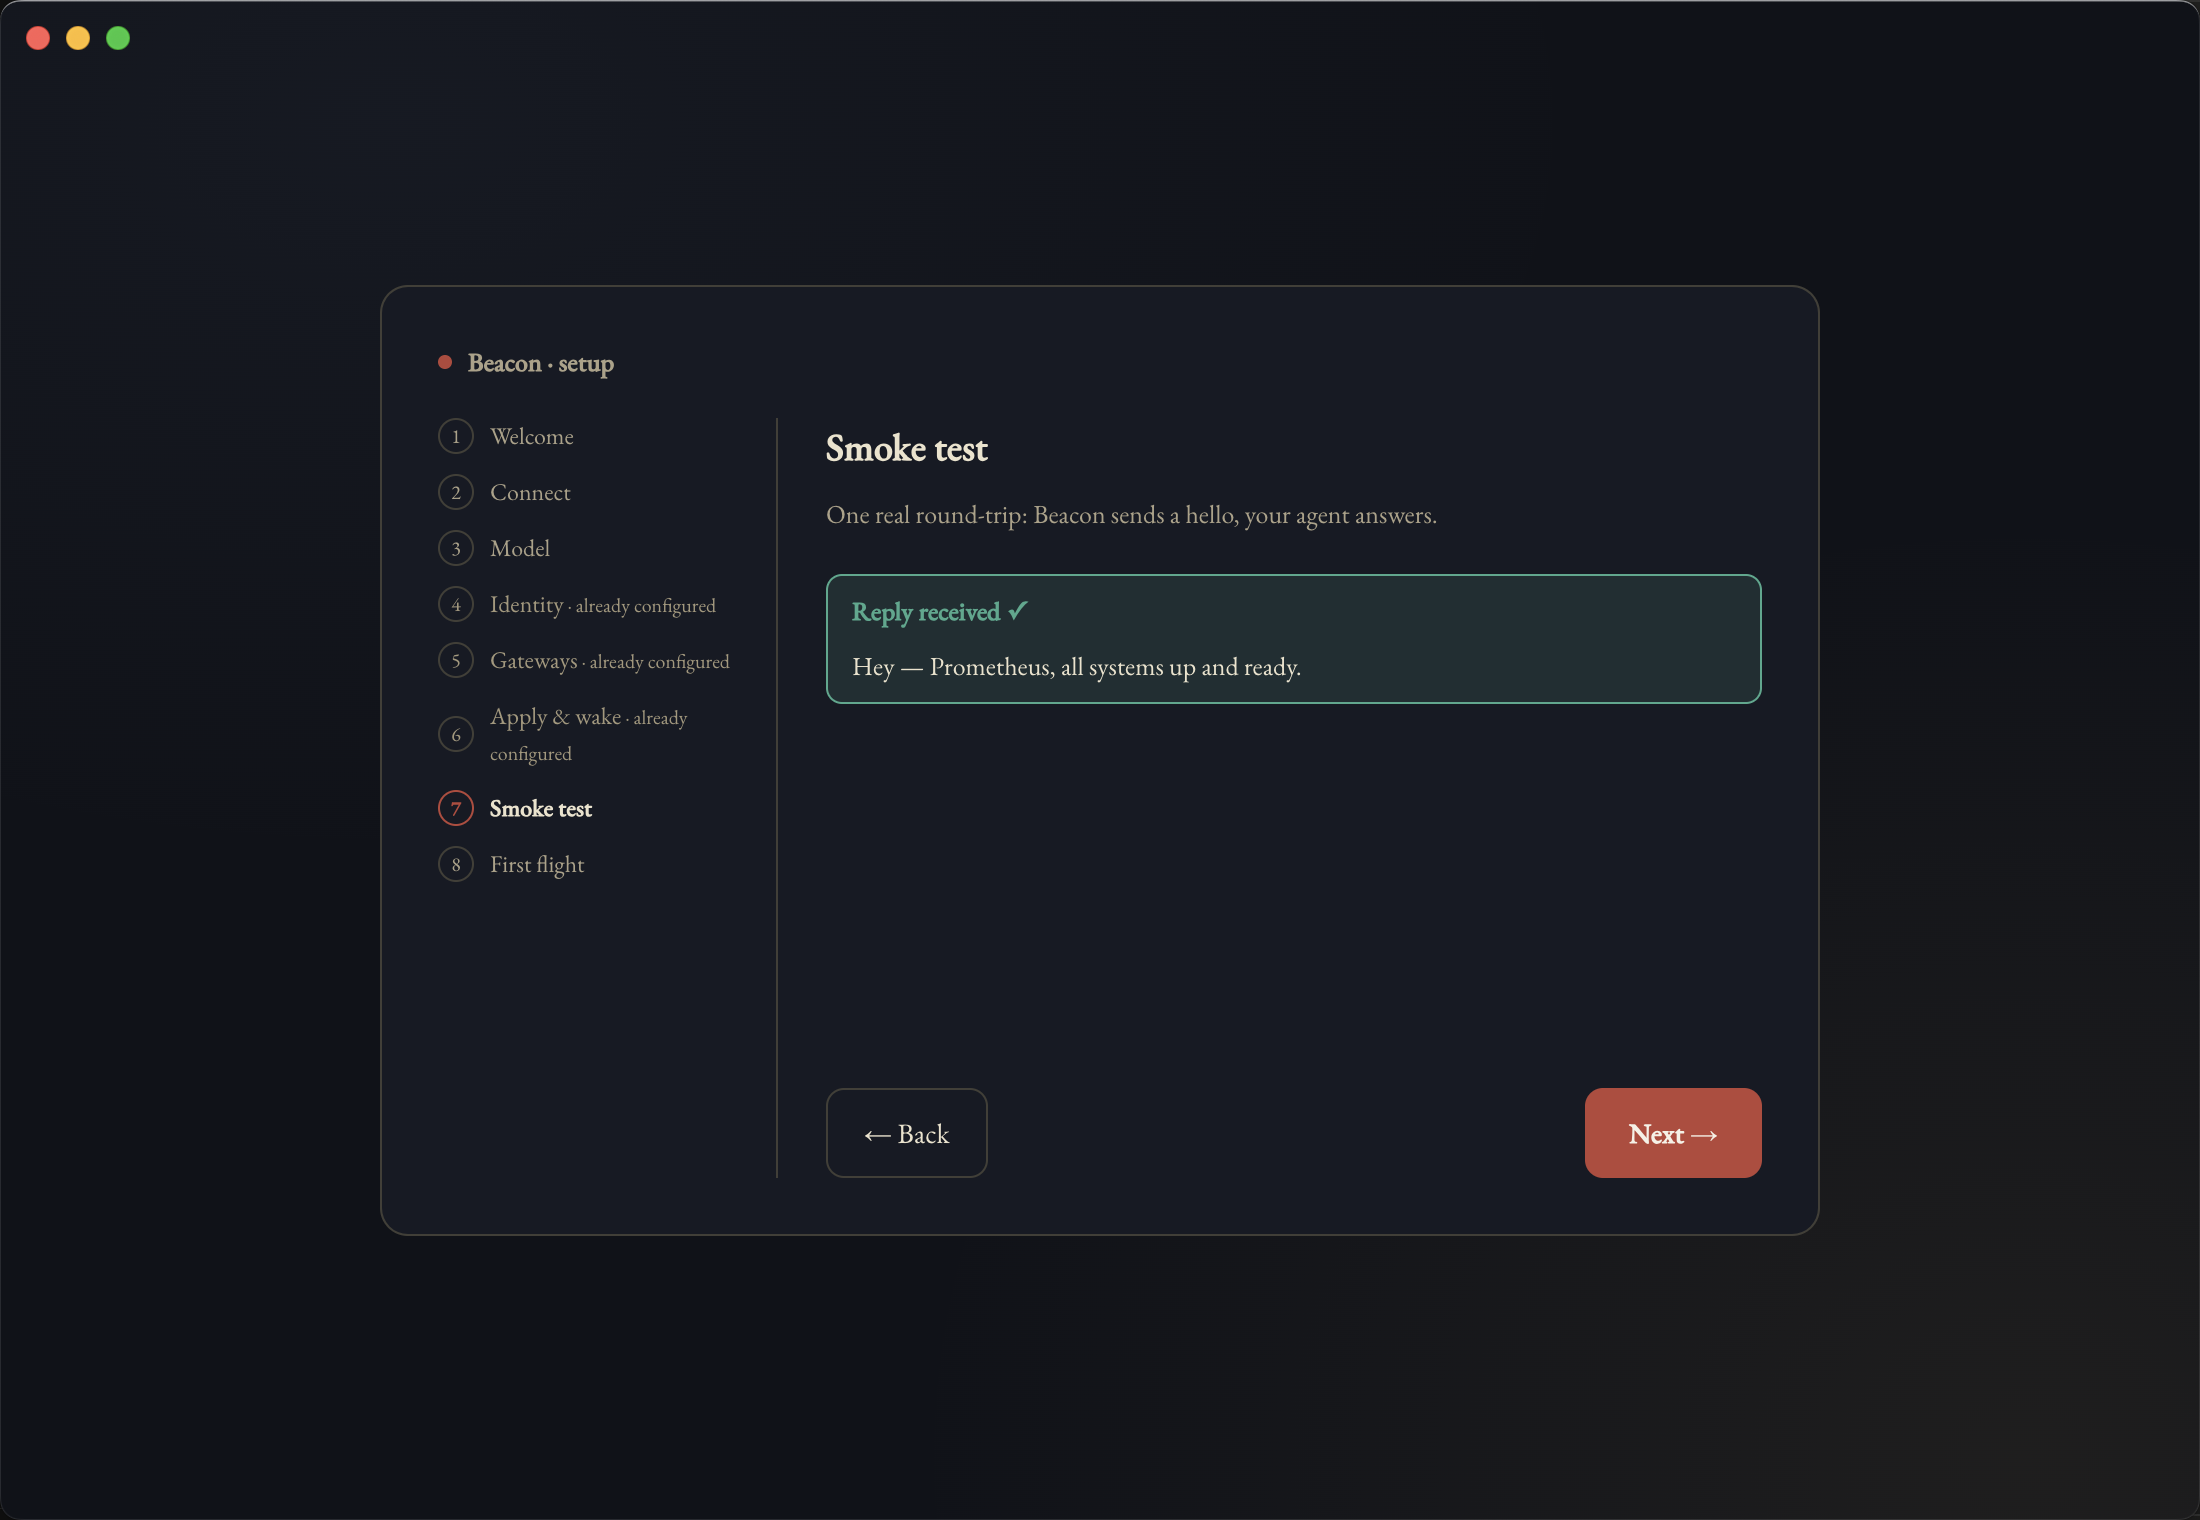
This step is verification, not a gate. A failed smoke test does not trap you in the wizard — it shows you the honest state and lets you continue, on the reasoning that being stuck on a screen is worse than being told plainly that something is not answering yet.
8 · First flight
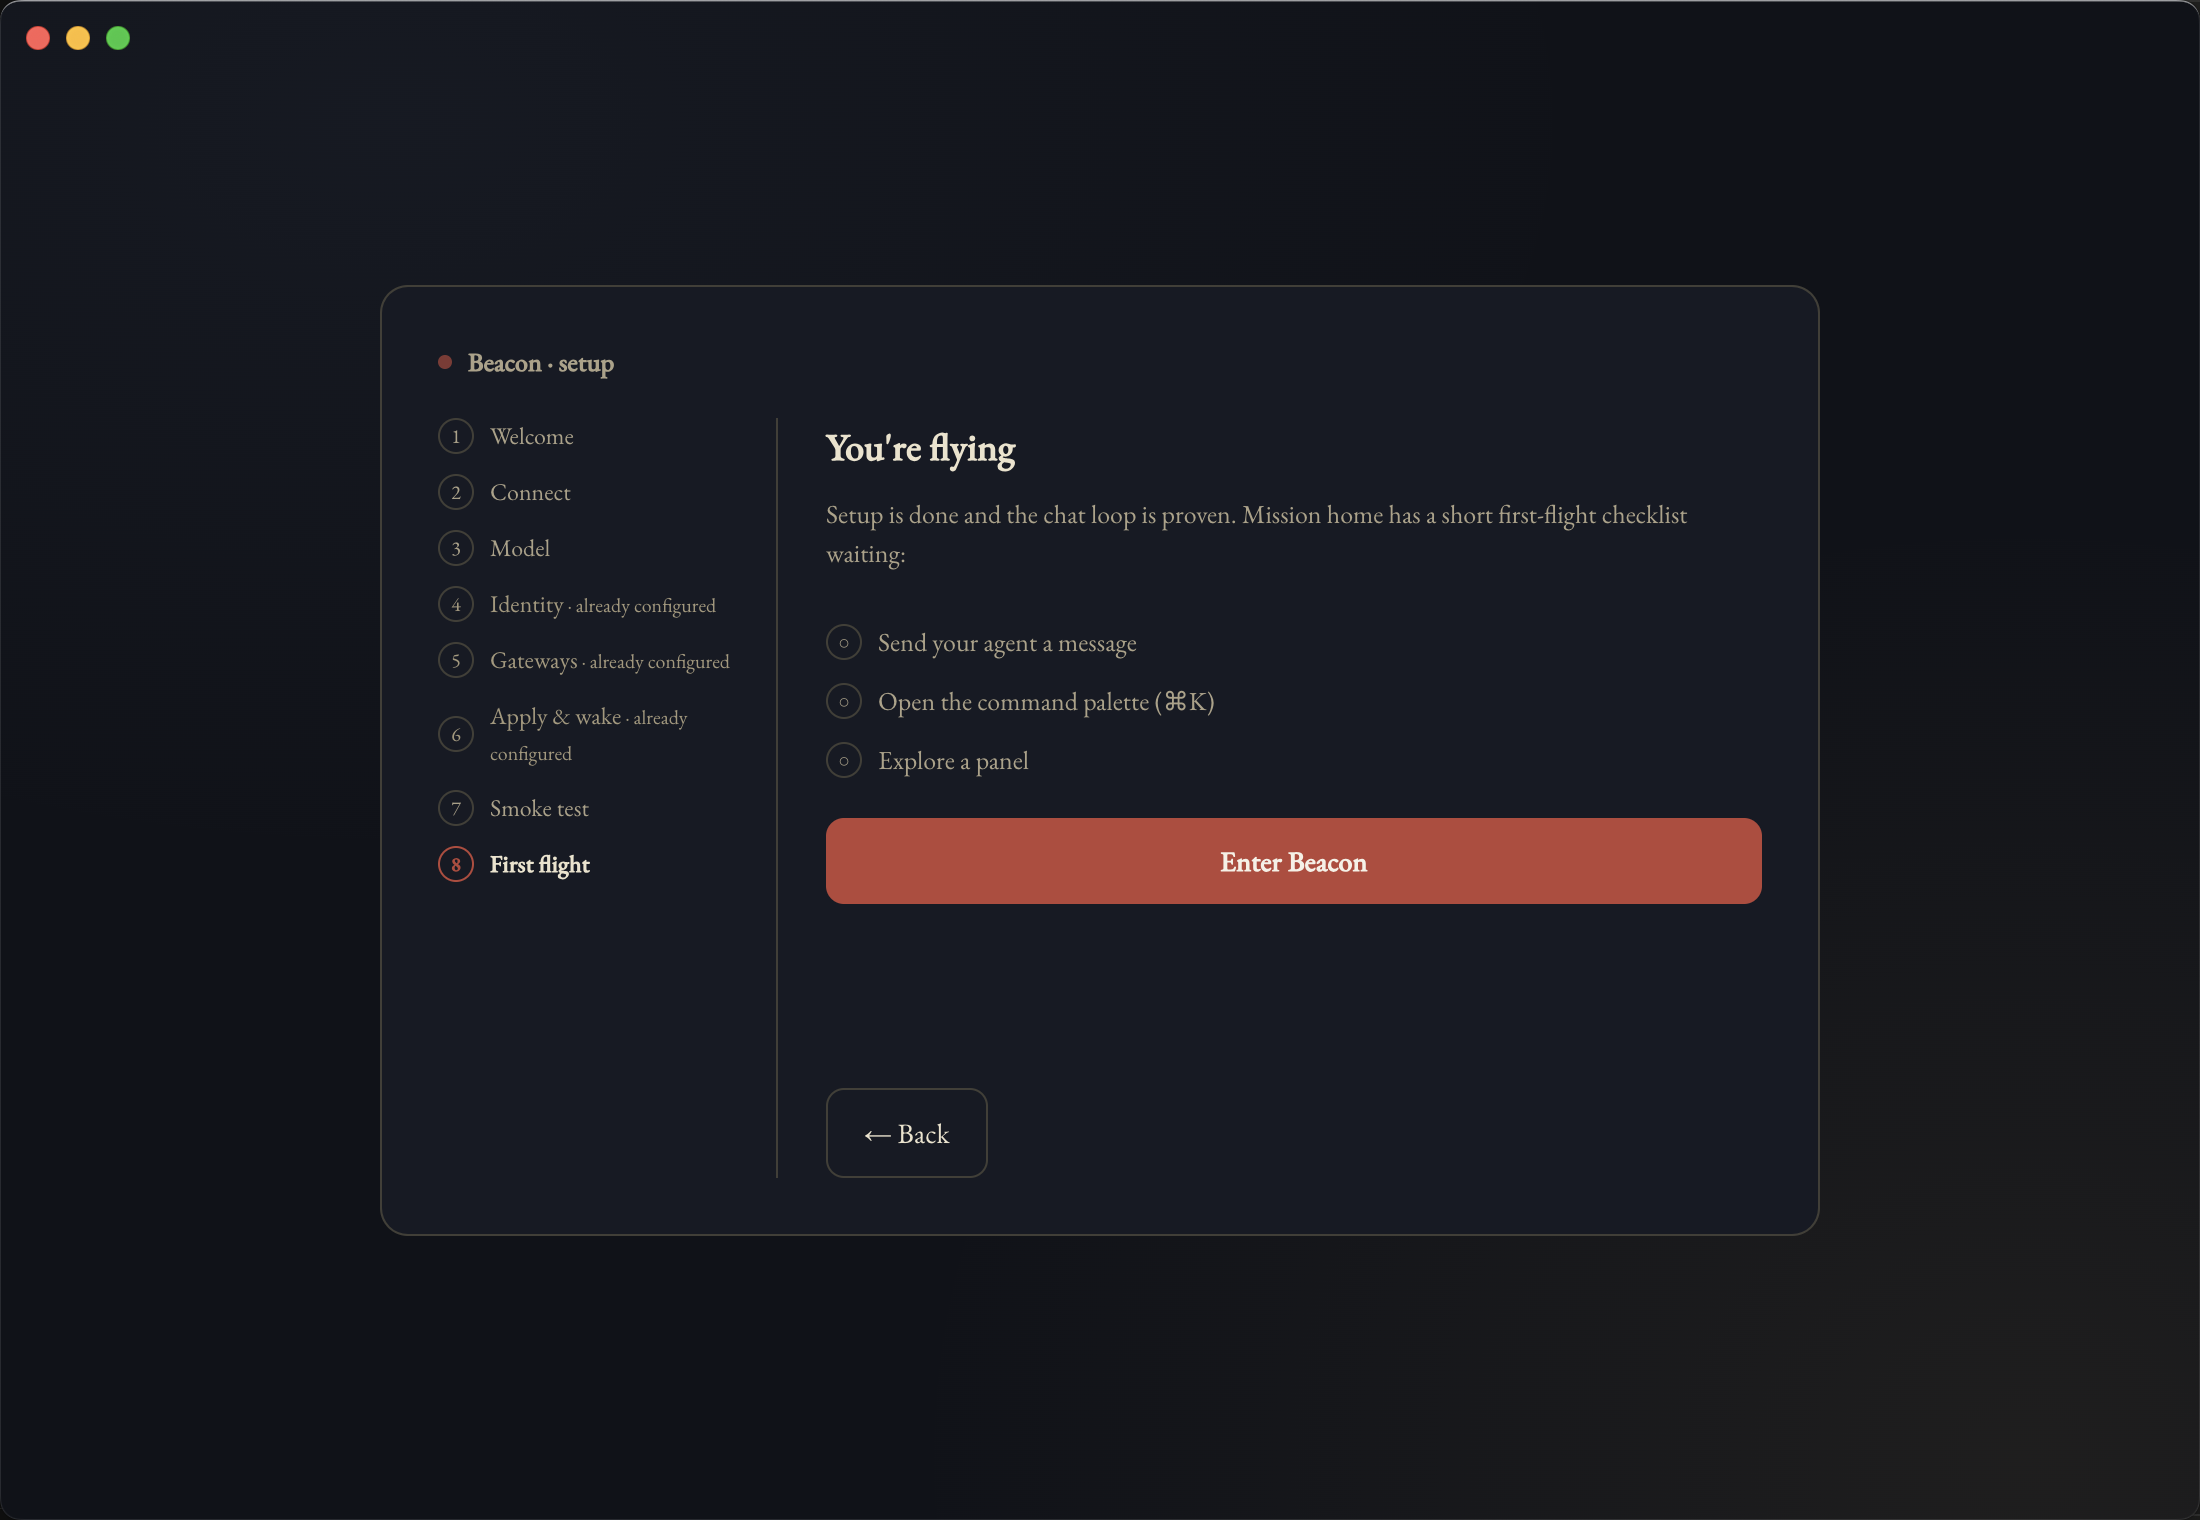
Setup ends with three things to try rather than a congratulations screen. The same checklist waits on Mission home, so you can leave it and come back.
Changing the connection later
Setup is a one-time path. Afterwards the same settings live behind the Connection settings control on Mission home, which shows both URLs — REST on 8005 and WebSocket on 8010 — and lets you replace the stored token.
Two details there that are easy to miss. The token field says leave blank to keep the saved token, so you can change the address without re-pasting the token. And Test checks the REST and WebSocket transports separately, because they authenticate differently — REST with a bearer header, the WebSocket in its first frame — and it is entirely possible for one to work while the other does not.